Images below are from a test student account and do not reflect the academic record of a UTS student.
Log into SSO
- If you need assistance with your username and password, CALL or VISIT the Registrar – login information is not provided via email.
Course Registration
Search and Register
-
- Under the Registration drop-down, select Enroll in Classes.
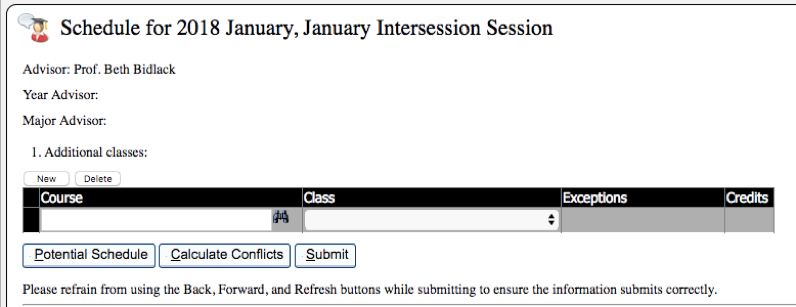
- Select Edit Registration to begin.
- Select the binocular icon to the right of the Course box to search for and select classes.
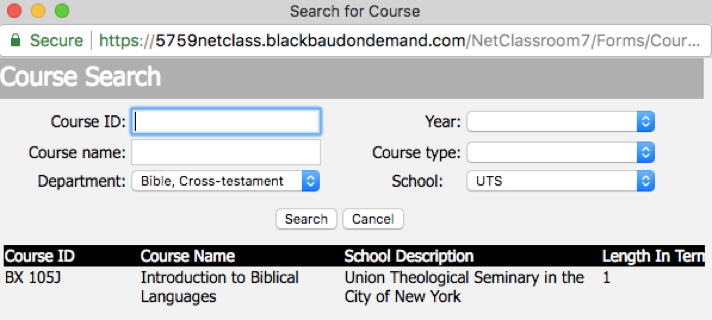
- The Course Search box opens. Use the drop-down options especially Department to browse courses, OR search by Course ID for a particular course.
- When results appear, select the course under the Course ID to proceed.
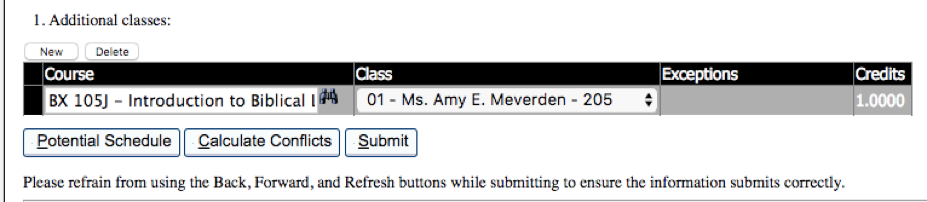
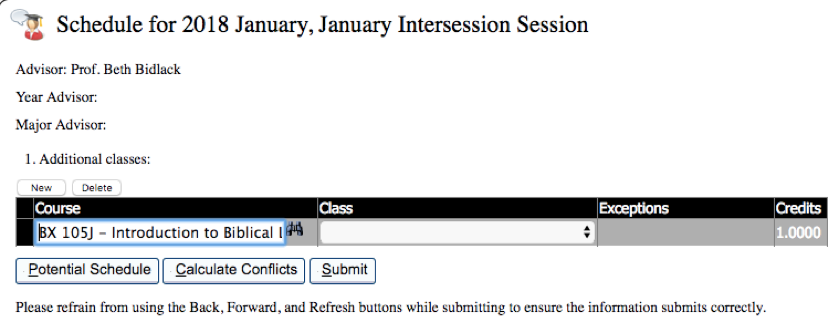
- The Course box populates with the selection. A Class must be selected – even if only one section offering – otherwise the registration is not complete. The Class box CANNOT be blank even if the process allows you to Submit.

- Select a Class then Submit to continue.

- View that the Enrolled Classes are correct and that all fields have course information.

- Select New to search and register for more courses. Repeat the process above for as many classes as needed.

- Under the Registration drop-down, select Enroll in Classes.
Not Selecting a Class
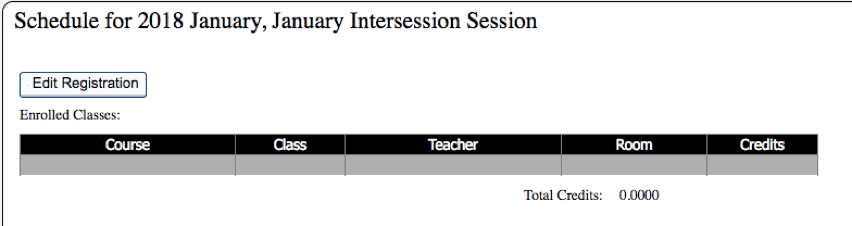
This is the Enrolled Classes screen if a Class is NOT selected. Course information is missing and the Credits are zero.![]()
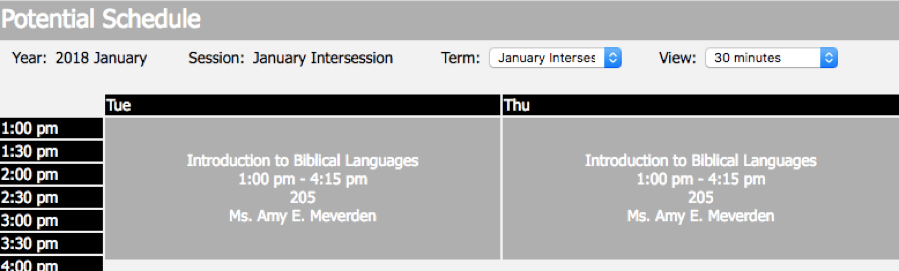
Potential Schedule
Drop Courses – Method One

Drop Courses – Method Two
- Select Edit Registration.
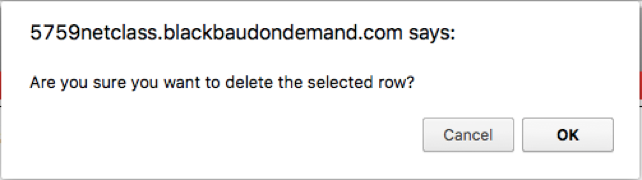
- Change the Class to blank. Submit to continue.
- The Enrolled Classes screen will then be blank.

View Course Schedule
-
-
- Under the Registration drop-down, select your schedule.
- Under the Registration drop-down, select your schedule.
-
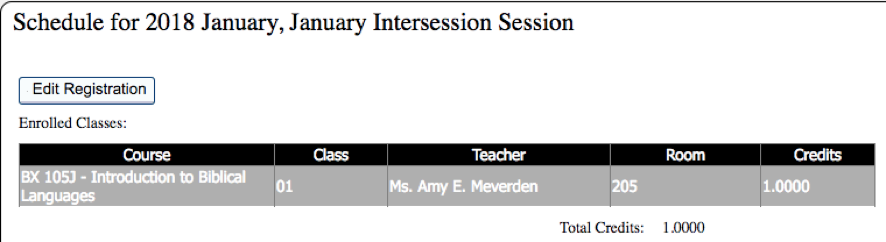
- Select the correct Academic year.
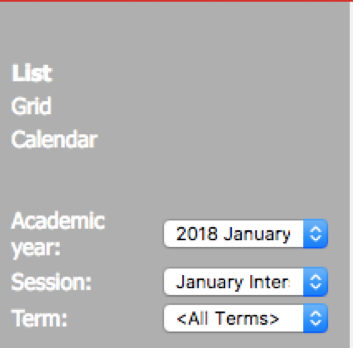
- Review your Schedule and follow the steps above if registration changes are needed. The Schedule displays the course, meeting information, faculty, and classroom.

Waitlist
Courses with instructor permission use the waitlist feature of NetClassroom/SSO. Follow these instructions if the course capacities reads zero which usually indicates instructor permission is required.
- Follow registration instructions above to add the course.
- The Class will indicate Waitlist Available as below. Submit to continue.

- The following page displays courses successfully added to the Waitlist.
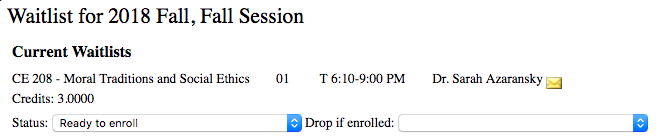
- The registration is not complete until the instructor emails the registrar a list of students permitted into the course.
- Once registered, the course appears on the class Schedule.